Project Setup
Once the required tools are installed, you can now begin developing your mod.
Creating Your Project
Below is information on how to create a new Reloaded project.
Once you create your project, you'll be able to open the .csproj file in your preferred IDE of choice. (or the folder where it is contained)
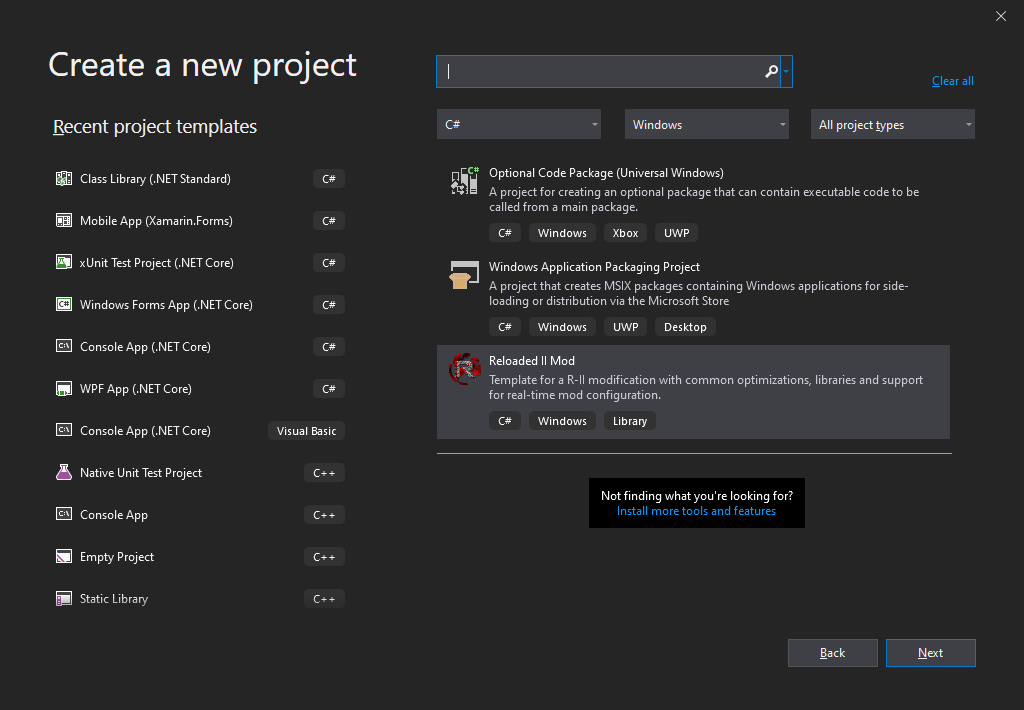
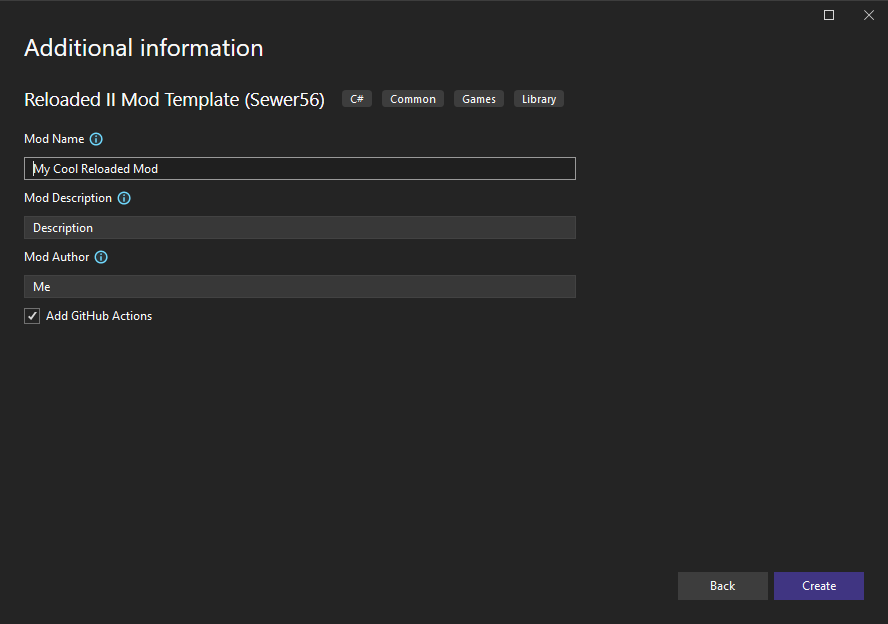
From a Supported IDE
Some IDEs such as Visual Studio and JetBrains Rider allow you to create a new project directly from IDE.
From the Command Line
Alternatively, you may create a project from the commandline.
Navigate to an empty folder and run the following command.
dotnet new reloaded -n <NAMESPACE> --ModName <MOD_NAME> --ModAuthor <MOD_AUTHOR>
Replace <NAMESPACE> with your desired name of your project, <MOD_NAME> with the name of the mod as shown to the end user and <MOD_AUTHOR> with your own name.
For extended information on other options you can also run:
dotnet new reloaded --help
Mod Structure
Reloaded Projects compose of the following structure:
- Metadata File (ModConfig.json)
- Project Configuration (.csproj)
- Preview Icon (Preview.png)
- Your Mod Code (Program.cs, Mod.cs)
The metadata file contains essential information
Metadata File (ModConfig.json)
The metadata file contains essential information such as mod author, name, description, and supported applications.
Example ModConfig.json:
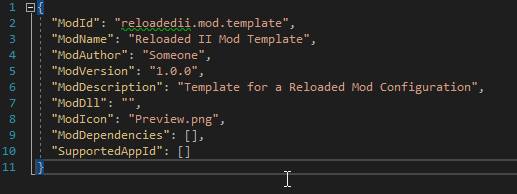
Common Fields:
- ModId: A name that uniquely identifies your mod.
- ModName: The name of your mod.
- ModAuthor: The author of your mod.
- ModDescription: A description of your mod.
- SupportedAppId: Applications for which the mod should be enabled for by default. Uses lower case exe name.
It is recommended to use the format game.type.name for ModId (e.g. sonicheroes.asset.seasidehillmidnight). ModId should also be human readable. Once you release your mod, do not change ModId!!.
The recommended method of editing the metadata file is:
- Build your mod (see below).
- Editing the config from the Reloaded Launcher
- Manage Mods -> Select Your Mod -> Click Edit Mod
- Copying the modified ModConfig.json file back to your project.
Building Your Mod
If you are using an IDE such as Visual Studio, simply build your project. (Build->Build Solution).
If you are using the command-line you can build using the following command
dotnet build
The mod will automatically be copied to your Reloaded-II's Mods folder, as long as Reloaded has not been moved since it was last launched.
Debugging Your Mod
Enable the mod and run the game via Reloaded.
If you have built your mod in Debug configuration and a supported IDE/Debugger installed, you should automatically receive a debug prompt like the following when running your game/application.
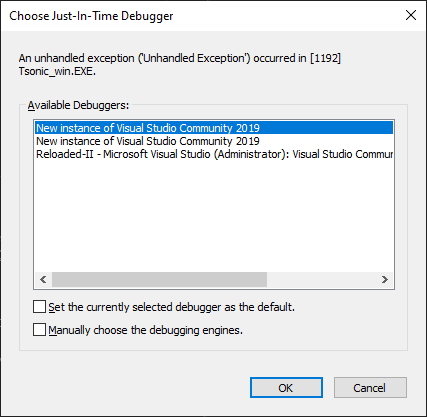
Select your IDE/Debugger of choice and have fun.